Santa’s footprints are the one Christmas Eve trick that is still there in the morning: a trail of floury boot prints from the fireplace to the tree, as if he had stepped in the ashes on his way in. This maker prints the boots as a stencil at true size, a right one and a left one, with a proper tread and one thing more: your child’s name cut into the sole, so every print in the trail says who Santa came for.
What you need
- The PDF, printed at 100 percent on A4 or US Letter: two sheets for the 22 cm boots, four for Santa size.
- Thin card to glue the sheets onto. A cereal box is the right thickness.
- A craft knife and a cutting mat. Cutting is an adult job; the shapes are big and mostly straight.
- Flour or powdered sugar and a small sieve or tea strainer.
How big are Santa’s boots?
| Size | The print is | Sheets | Fits |
|---|---|---|---|
| 22 cm | 22 cm long, 8.3 cm across the sole | one per boot, two in all | A4 and US Letter |
| Santa size | 30 cm long, 11.3 cm across the sole | two per boot, taped, four in all | A4 and US Letter |
Computed from the tool’s boot outline (November 2026). A 30 cm boot is longer than a sheet of paper, so each boot prints in a toe half and a heel half that overlap: trim the heel half along its dashed line, lay its edge on the toe half’s line marked join, and tape the two on the back before you glue them to card.
How to make the footprints
- Print, glue, cut. Glue each sheet flat onto card, let it dry, then cut out every gray shape. Keep every white strip and bridge: they hold the stencil together and draw the tread and the letters.
- Plan the walk. Start at the fireplace, the front door or the window Santa would use, and end at the tree. A step of about one stencil length between prints looks like walking.
- Sift. Lay the right boot down printed side up, sift flour or powdered sugar over it until the holes are white, and lift it straight up so the edges stay sharp.
- Step on. Lay the left boot a step further and a little to the side, and keep switching. On a dark floor or rug the prints show best; on a light floor, cocoa powder works the same way.
Leave the name empty for a plain boot with tread across the whole sole. A name of up to ten letters fits; short names are cut larger and read best in flour.
What it costs
Nothing. No account, no watermark, no limit. The stencil is drawn in your browser and the name never leaves your device.
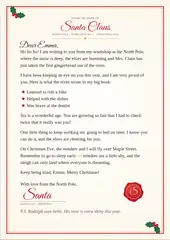
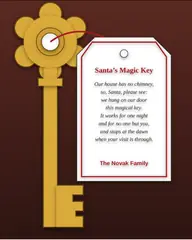
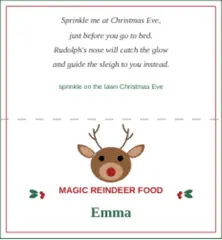
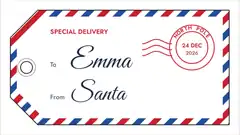
For the rest of the Christmas Eve set, the same bench makes a letter from Santa in your child’s name, Santa’s magic key for houses without a chimney, reindeer food toppers for the lawn and gift tags signed by Santa. The whole shelf lives on the Christmas page.
Questions
How do you make Santa footprints with flour?
Lay a boot stencil on the floor printed side up, sift flour or powdered sugar over the holes through a small sieve, and lift the stencil straight up. Move it one step on, switch between the right and the left boot, and repeat from the fireplace or the door to the tree. The stencils here print at true size with the tread and your child's name already cut into the sole.
How big are the boot prints?
Two sizes: 22 cm long and 8.3 cm across the sole, which fits one sheet per boot, or Santa size, 30 cm long and 11.3 cm across, printed on two sheets per boot that you tape together along the marked line (computed from the tool's boot outline, November 2026). Both print on A4 and US Letter.
Why are there thin strips across the letters and the tread?
A stencil is one piece of card with holes in it. The middles of letters like O, A and R would fall out when you cut around them, so thin bridges hold them to the card, the way stencil lettering always looks. The strips across the sole hold the card together and make the tread lines in the flour.
What should I cut the stencil from?
Glue the printed sheet onto thin card, a cereal box is ideal, and cut the gray shapes with a craft knife on a cutting mat; an adult job. Card keeps its shape for many prints and for next year; plain paper works for one evening but curls.
Does flour come off the floor?
On a hard floor a dry cloth or a vacuum takes it up. On a rug or carpet, powdered sugar or flour shows best on a dark pile, and a vacuum lifts most of it; try one print in a corner first if the rug is precious.
Is the name uploaded anywhere?
No. The stencil is drawn in your browser and handed to your printer as a PDF; the name never leaves your device.