Two projects, both printed at home, both made entirely in your browser — nothing is uploaded, and nothing costs anything.
What can I make here for Diwali?
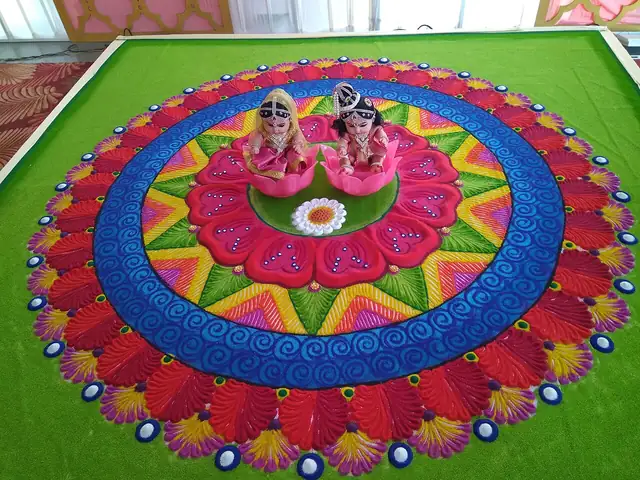
- A rangoli stencil at any size. Pick a motif, choose the size in centimetres, print at true scale, cut out the black parts, then dust flour, coloured sand or flower petals through the holes. Lift the sheet and the pattern stays on the ground. Make a rangoli stencil → New to rangoli? How to make a rangoli with a stencil → covers the five steps, the sheet count for any size and what to dust through the holes.
- Coloring pages from your photos. A photo of diyas, a rangoli pattern or a family picture, turned into outlines to color — a quiet activity for the days of preparation. Make a coloring page →
| Project | What you print | When it is needed |
|---|---|---|
| Rangoli stencil | printable sheets at true scale in the width you chose in cm, black parts to cut out | around Diwali day itself (Sunday 8 November 2026) and renewed through the festive week — also kolam and rangoli through Navratri from 11 October |
| Coloring pages | a coloring-page PDF sized for A4 or Letter | the days of preparation before Diwali |
When is Diwali 2026?
Sunday 8 November. The house is cleaned and decorated in the days before; the rangoli goes down at the entrance on the day itself and is renewed through the festive week. Earlier in the season, Navratri begins on 11 October — the stencil works for kolam and rangoli through those nine nights too.
Can children help with the rangoli?
Yes — dusting colour through a stencil needs no knives and no drawing ability, which is exactly how the stencil sellers pitch it too. Print one stencil per child so nobody waits for a turn.
What can a classroom do with a rangoli stencil?
The stencil prints as black cut lines or dot grids on white paper — never filled colour areas — so the ink cost of a class set is near zero. The size is typed in centimetres and printed at true scale, which makes the tool’s own arithmetic part of the lesson: 30 cm across needs 4 sheets of A4 (2 × 2), 45 cm needs 6 (3 × 2), and doubling the width to 90 cm more than triples the count to 20 — sheet count grows with area, not width. In dot-grid style the holes sit at a fixed 9 mm spacing, and a twelve-petal lotus at 45 cm carries 737 of them (all counts computed from the generator, 23 September 2026).
The step split:
| Step | Who |
|---|---|
| Measure the spot, type the size in cm, print at 100 per cent | adult or older children |
| Tape the sheets together along the assembly map | child — every sheet is labelled “sheet 3 of 6” style |
| Cut out the black parts | craft knife — adult |
| Dust the flour, powder or petals through the holes | child |
| Sweep off the excess, touch up wobbly edges | child |
A one-line lesson shape: measure the spot, predict the sheet count, print, tape, dust — then check the prediction against the tool’s count. Print one stencil per child or per table at 30 cm (4 sheets each) so nobody waits for a turn; the honest limit is that the knife work stays with an adult, so cut the stencils ahead of the lesson and let the class do the dusting.